Thank you for your HexBumper purchase! The following instructions will guide you through the quick and easy one-time set-up.
ASSEMBLY
- Confirm that all the components are inside your product bag.

- Take 2 links and bring them together so that the pin holes line up evenly.

- Once the pin holes line up evenly, push one of the coiled connector pins through the pin holes. NOTE: If it is difficult to push the pin down with your fingers, use a coin or hard surface to assist you.

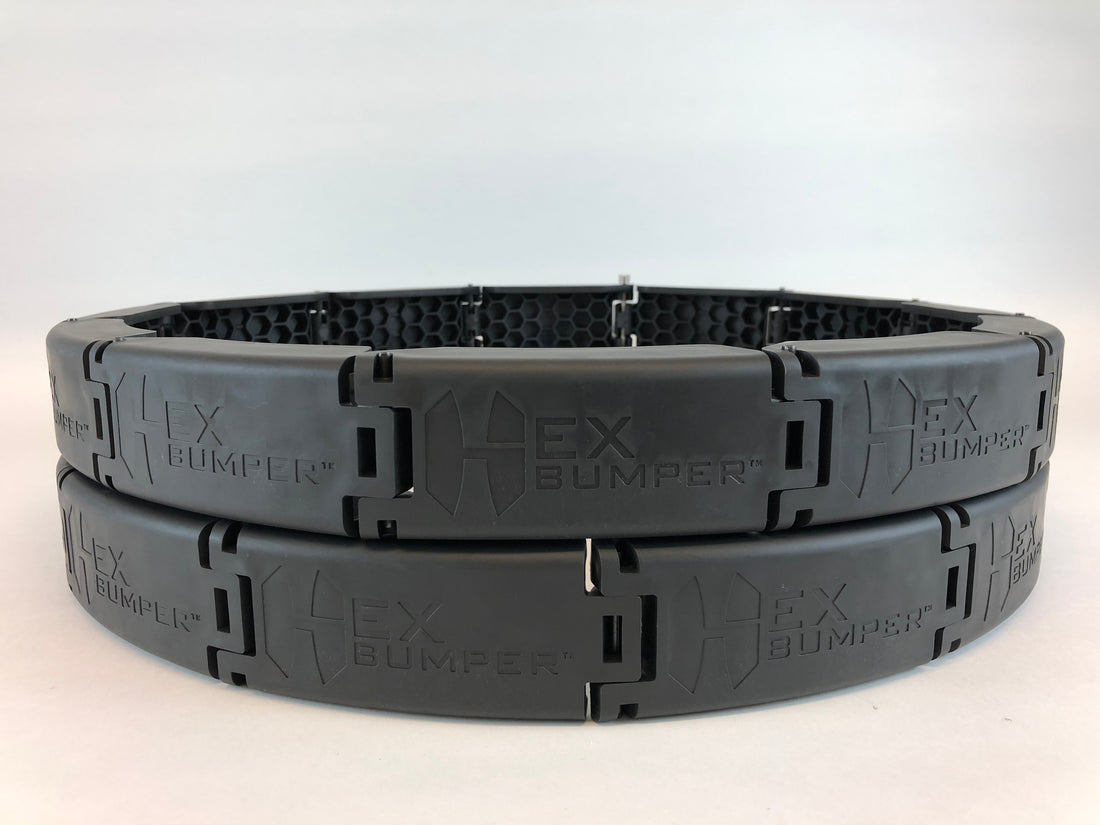
- Create 6 total 4-link chains, using the coiled connector pins. These are not made to be removed.

- Use the flat head ball pin connector to connect 3 of the 4-link chains for one side of the HexBumper. Repeat this again for the second side.


USAGE
Note: Take a fully assembled side of the HexBumper and lay flat on the ground in order to apply it to a hex plate.
- Corner of the weight sits in the center part of each link.

- Wrap both sides up over plate pin holes match up. NOTE: Pull out to remove slack as it is applied.

- Connect the last link with a flat head ball pin connector.


BEST PRACTICES
- Always use your HexBumpers when deadlifting
- Avoid dropping the weight when possible
- Roll HexBumpers up & keep in bag when not in use
- Highly recommend to purchase carrying case to store and transport your set
This will allow you to lift without worrying about unpredictable barbell movement and wasting energy adding weights in between sets. Happy lifting!